Managing Properties
Properties represent the homes, lots, and units in your community. Each property can have contacts associated with it (owners, renters, billing contacts) and can be linked to tickets and variances. Setting up your property list is one of the first things to do when getting your community started on HOA Hub.
Browsing properties
Section titled “Browsing properties”You can browse properties from the Neighborhood page by switching to the Places tab. This shows every property in your community with its name and address, and you can search by name. Click any property to see its details, contacts, and variances.
Adding and editing properties
Section titled “Adding and editing properties”To create or manage properties, go to HOA → Properties. This is the admin management view where you can add and edit properties.
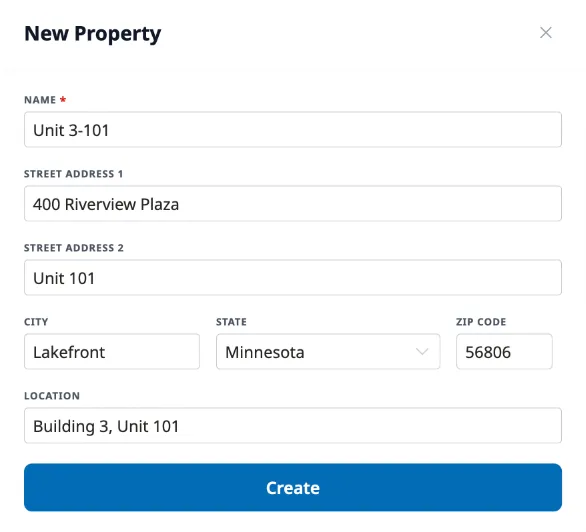
Click New Property to open the property form. Enter the property name (something residents will recognize, like “123 Oak Street” or “Unit 4B”), and optionally fill in the address fields — street address, city, state, ZIP code, and a location field for plat or lot references (e.g., “Plat 1, Block 2, Lot 53”).
Only the name is required. You can always come back and fill in the rest later.
To edit an existing property, click it from the list or from its detail page, and click Edit. Changes are saved when you click Update.
Linking contacts to properties
Section titled “Linking contacts to properties”Property-contact relationships are managed from the contact’s profile, not the property page. When viewing a contact, you can add them to a property and set their relationship details — things like whether they’re an owner or renter, whether they’re an occupant, and whether they’re the primary or billing contact. See Managing the Directory for details.